
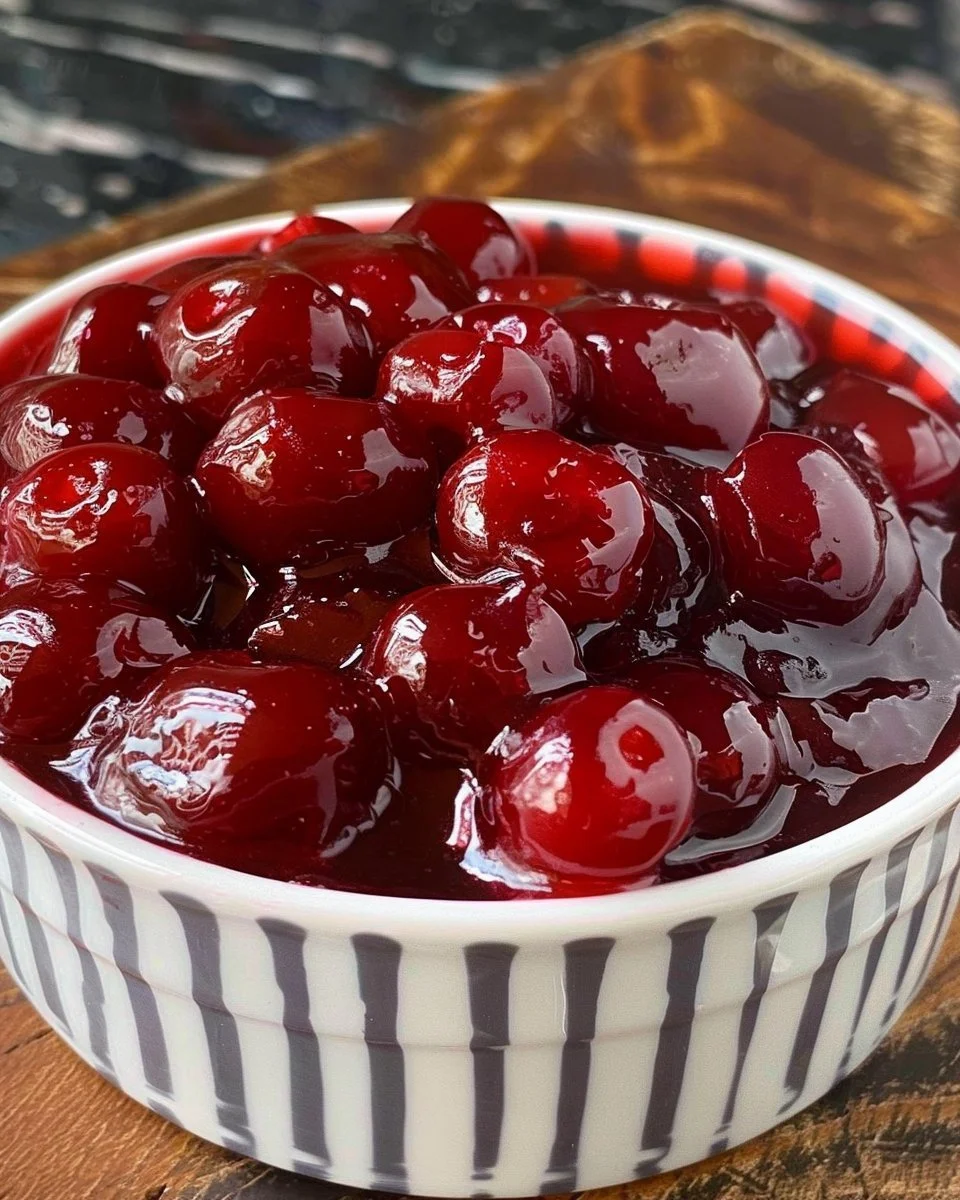
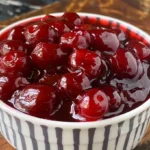
Cherry Pie Filling
Cherry pie filling is a delightful dessert component that indulges your senses with its vibrant color, luscious texture, and sweet-tart flavor. Whether you’re planning a family gathering or simply craving a slice of classic cherry pie, this recipe serves as a perfect base. The aroma of simmering cherries and sugar creates a cozy atmosphere, making it an ideal treat for summer picnics or holiday feasts. This cherry pie filling can also bring a touch of homemade charm to cheesecakes, ice cream sundaes, and breakfast pancakes. Let’s dive into how to create this simple yet satisfying cherry filling that will elevate your desserts.

Ingredients
- ¼ cup cornstarch: This ingredient acts as a thickening agent, creating a smooth, cohesive filling.
- ⅔ cup sugar: Provides the sweetness necessary to balance the tartness of the cherries.
- 4 cups fresh or frozen cherries: The star of the dish, cherries add both flavor and texture; use pitted cherries for convenience.
- ½ cup water: Helps dissolve the cornstarch and sugar, creating a syrupy consistency.
- 1 tablespoon fresh lemon juice: Enhances the cherry flavor and adds a refreshing zing to the mix.
Step-by-Step Instructions
- In a medium saucepan, combine the cornstarch and sugar, stirring until well mixed.
- Pour in the water followed by the cherries and lemon juice, and mix thoroughly.
- Place the saucepan over medium heat and bring the mixture to a gentle boil, stirring frequently.
- Once boiling, reduce the heat and let it simmer for 2 to 4 minutes, stirring often until the filling thickens.
- Remove from heat and let cool completely.
- Transfer the cherry filling to a storage container, refrigerating it for up to a week.
Recipe Details
- Prep Time: 10 minutes
- Cook Time: 10 minutes
- Total Time: 20 minutes
- Servings: About 4 cups
- Calories: Approximately 200 per serving
Tips, Storage & Variations
- For a thicker filling, use an extra tablespoon of cornstarch dissolved in a little water before mixing it in.
- Store the cherry pie filling in an airtight container in the refrigerator for up to one week, or freeze it for longer enjoyment.
- For a different flavor profile, try mixing in a teaspoon of almond extract or vanilla extract, which complement the cherries beautifully.
Frequently Asked Questions
{image_1}
-
Can I use canned cherries for this recipe?
Yes, canned cherries can be used. Just drain them well before adding to the mixture to avoid excess liquid. -
How do I thicken my cherry pie filling?
If your filling is too thin, you can add a bit more cornstarch mixed with water during the cooking process. -
Can this filling be used for other desserts?
Absolutely! This cherry filling is versatile and perfect for cheesecakes, pancakes, or even topping ice cream. -
How do I know when the filling is thick enough?
The filling should coat the back of a spoon and hold its shape slightly when cooled. -
Can I make this filling in advance?
Yes, it can be made up to a week ahead and stored in the refrigerator until you’re ready to use it. -
What types of cherries are best for this recipe?
Fresh tart cherries will yield the best flavor, but you can also use sweet cherries or frozen ones for convenience.
People Also Ask
-
What is the best way to pit cherries?
Use a cherry pitter or a small knife to remove the pit gently. -
How can I enhance the flavor of cherry pie filling?
Adding spices like cinnamon or nutmeg can enhance the flavor. -
Is this filling suitable for a gluten-free diet?
Yes, this recipe is naturally gluten-free as it uses cornstarch instead of flour. -
Can I freeze the cherry pie filling?
Yes, it can be frozen for later use; just ensure it’s in an airtight container. -
How long can cherry filling be stored in the freezer?
It can last in the freezer for about 3 months. -
Can I use other fruits in this filling?
Yes, you can mix or substitute other fruits like blueberries or raspberries to create a unique filling.
Conclusion
This homemade cherry pie filling is a delightful way to brighten up your desserts with its vibrant flavors and inviting aroma. Enjoy using it in many recipes and bring a little sweet nostalgia to your table. Be sure to check out this delicious cherry pie filling recipe for variations and tips, or explore more ideas on making the perfect cherry dessert at this informative site. Enjoy your culinary journey!
PrintCherry Pie Filling
A delightful cherry pie filling that adds vibrant flavor and texture to your desserts.
- Prep Time: 10 minutes
- Cook Time: 10 minutes
- Total Time: 20 minutes
- Yield: About 4 cups 1x
- Category: Dessert
- Method: Cooking
- Cuisine: American
- Diet: Gluten-Free
Ingredients
- 1/4 cup cornstarch
- 1/2 cup sugar
- 4 cups fresh or frozen cherries, pitted
- 1/2 cup water
- 1 tablespoon fresh lemon juice
Instructions
- Combine the cornstarch and sugar in a medium saucepan, stirring until well mixed.
- Pour in the water followed by the cherries and lemon juice, and mix thoroughly.
- Place the saucepan over medium heat and bring the mixture to a gentle boil, stirring frequently.
- Reduce the heat and let it simmer for 2 to 4 minutes, stirring often until the filling thickens.
- Remove from heat and let cool completely.
- Transfer the cherry filling to a storage container, refrigerating it for up to a week.
Notes
For a thicker filling, use an extra tablespoon of cornstarch dissolved in a little water. This filling can also be used in cheesecakes, pancakes, or ice cream.
Nutrition
- Serving Size: 1 serving
- Calories: 200
- Sugar: 20g
- Sodium: 5mg
- Fat: 0g
- Saturated Fat: 0g
- Unsaturated Fat: 0g
- Trans Fat: 0g
- Carbohydrates: 48g
- Fiber: 2g
- Protein: 1g
- Cholesterol: 0mg